Stylists First: How Donna Bella Celebrates Hair Stylist Appreciation Day Every Day
Popular Searches
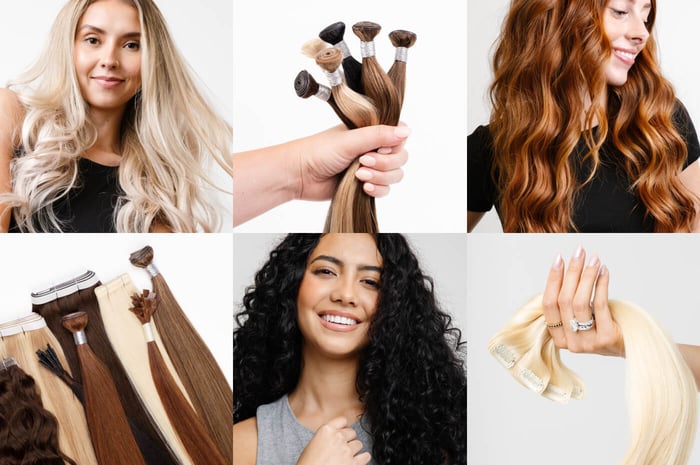
Hair Extensions

All Blogs | Hair Extensions

All Blogs | Education


Trending
All Blogs | Hair Extensions

Trending
All Blogs
Education | Hair Extensions